boxmount
Boxmount DIY Install Kit Available Now!
Boxmount DIY Install Kit Available Now!
Couldn't load pickup availability
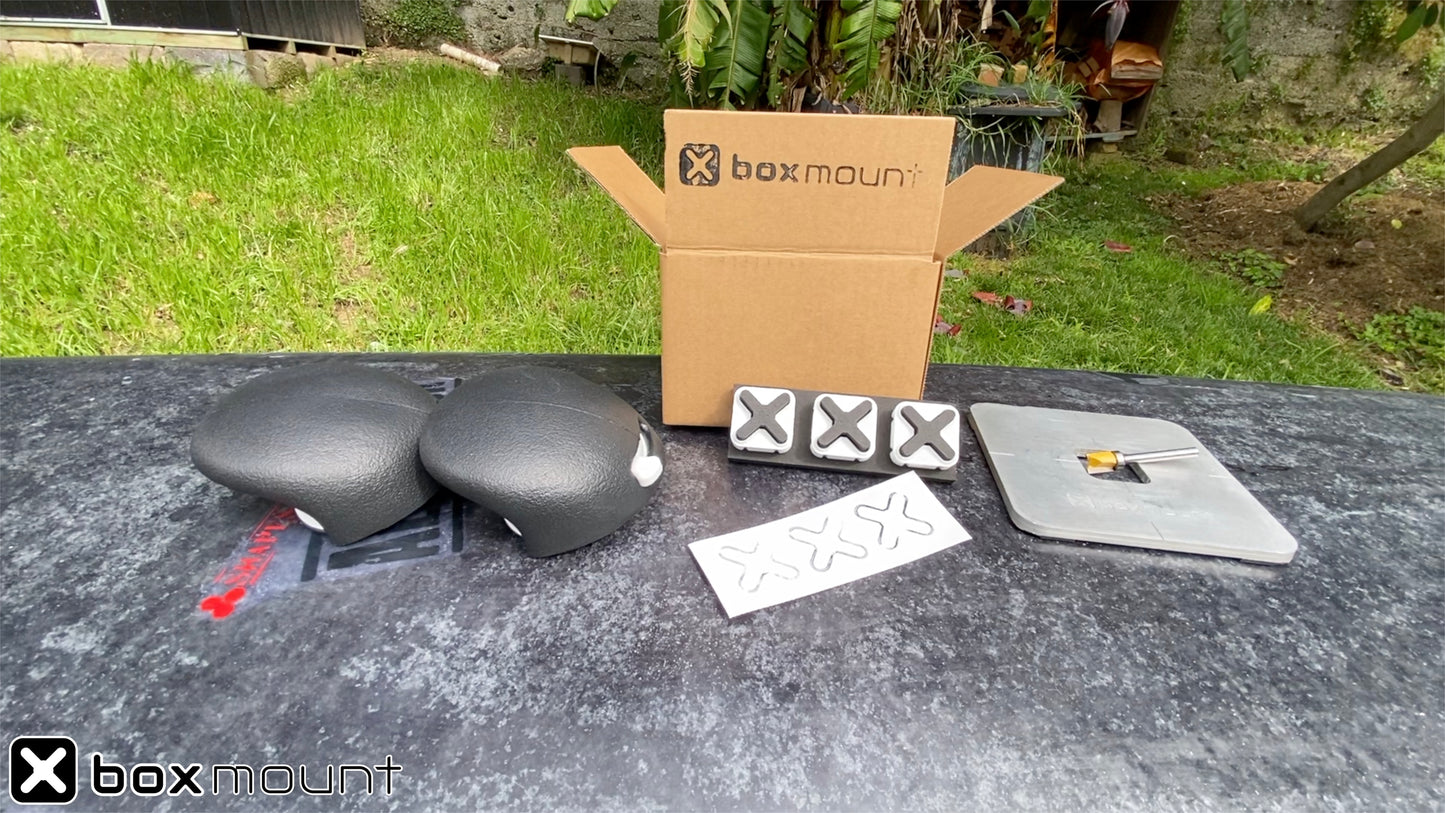
The complete solution to retrofit or manufacture Boxmount Plugs into boards.
includes:
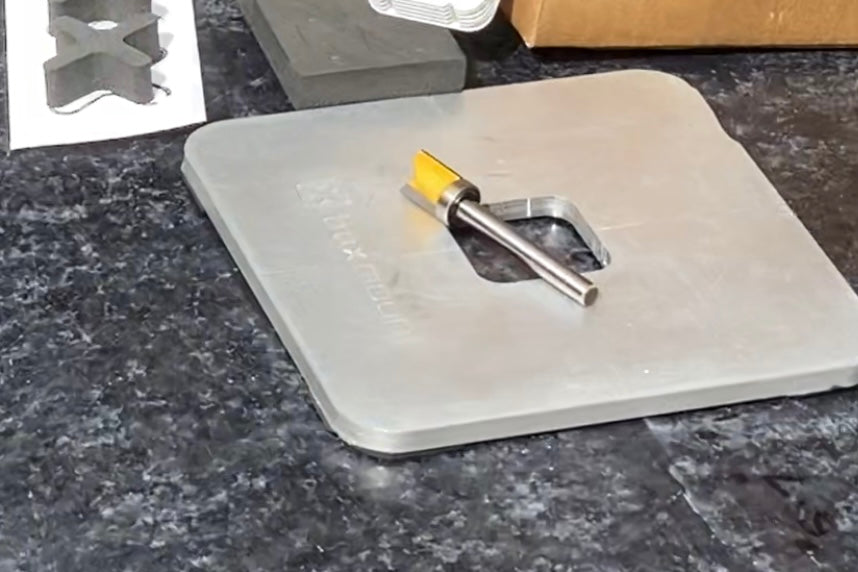
Boxmount Jig Plate.
Boxmount Router Bit.
Boxmount Plugs X3
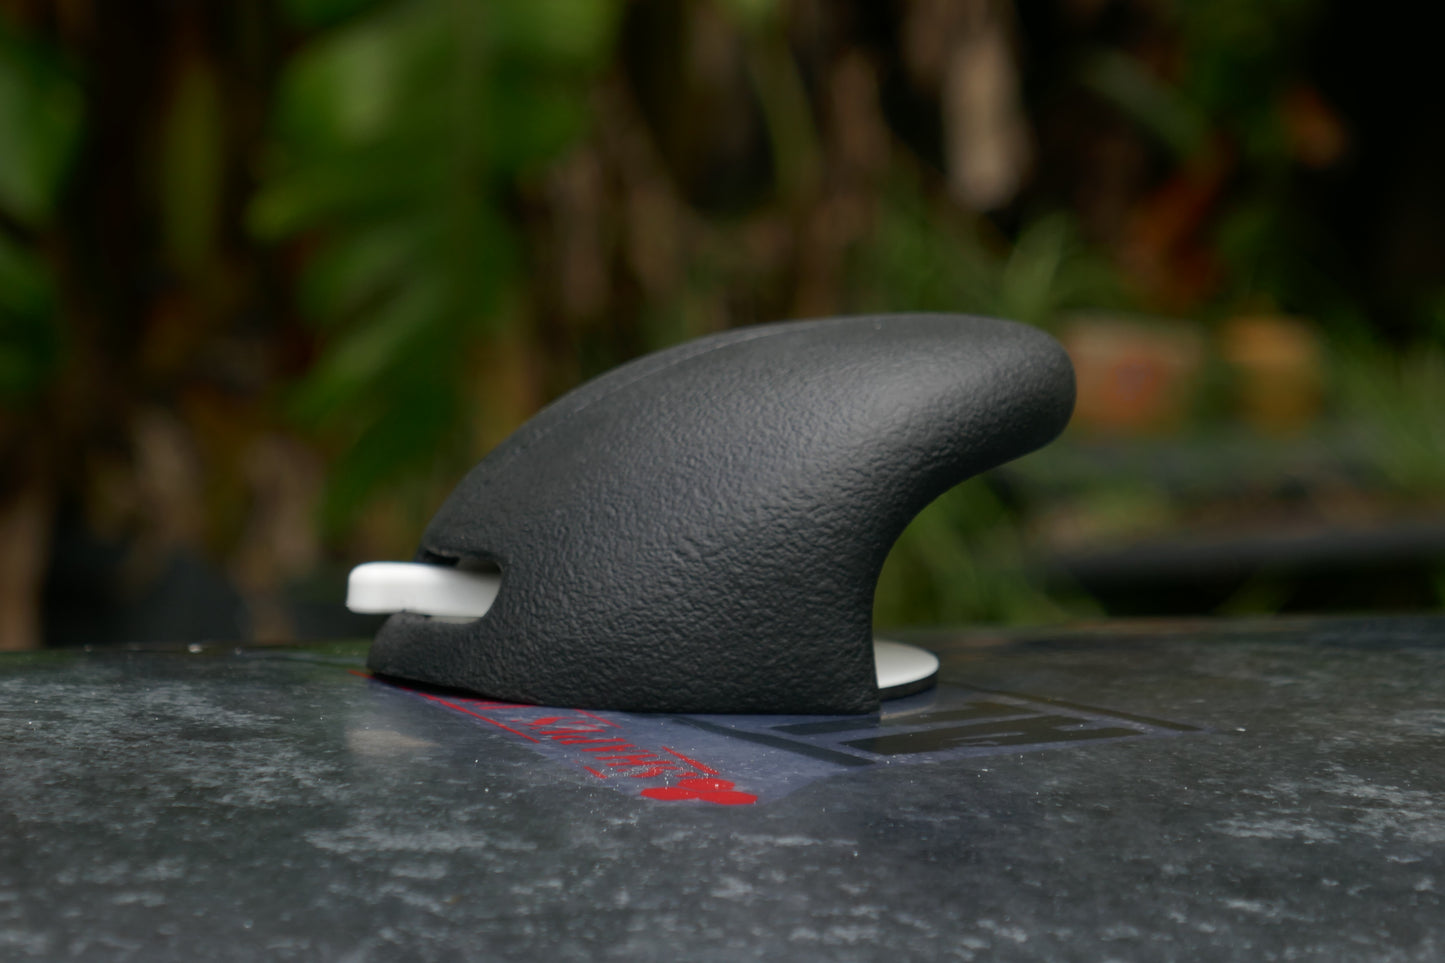
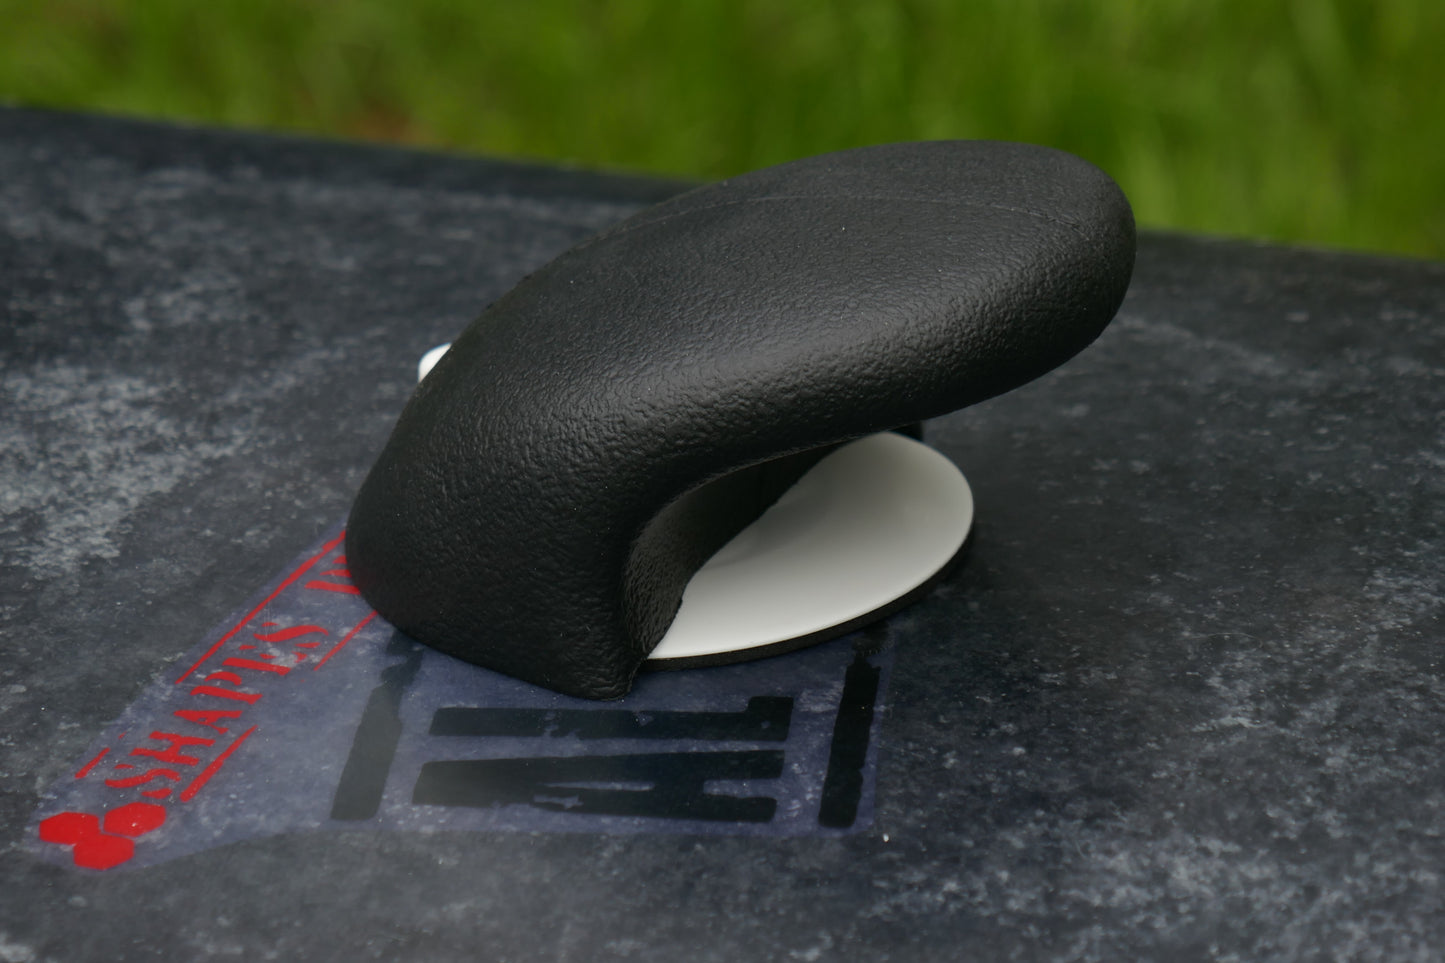
Boxmount Bindings X2
Plug inserts
Sticker Pack
Materials You will need:
- Boxmount DIY Install Kit
- Router
- Pencil
- Ruler
- Masking Tape
- Epoxy Resin and Hardner (Local Surf Shop Ding Repair Kit)
- Microbubbles (Optional)
- Mixing Cup & Mixing Sticks
- Latex Gloves and a Mask
- 80/240/400 Grit Sandpaper and Block
- Fin Key
Step By Step:
1. Clean your board making sure there is no wax or traction pad adhesive.
2. Unbox your Boxmount DIY Install Kit.
3. Stage all your materials.
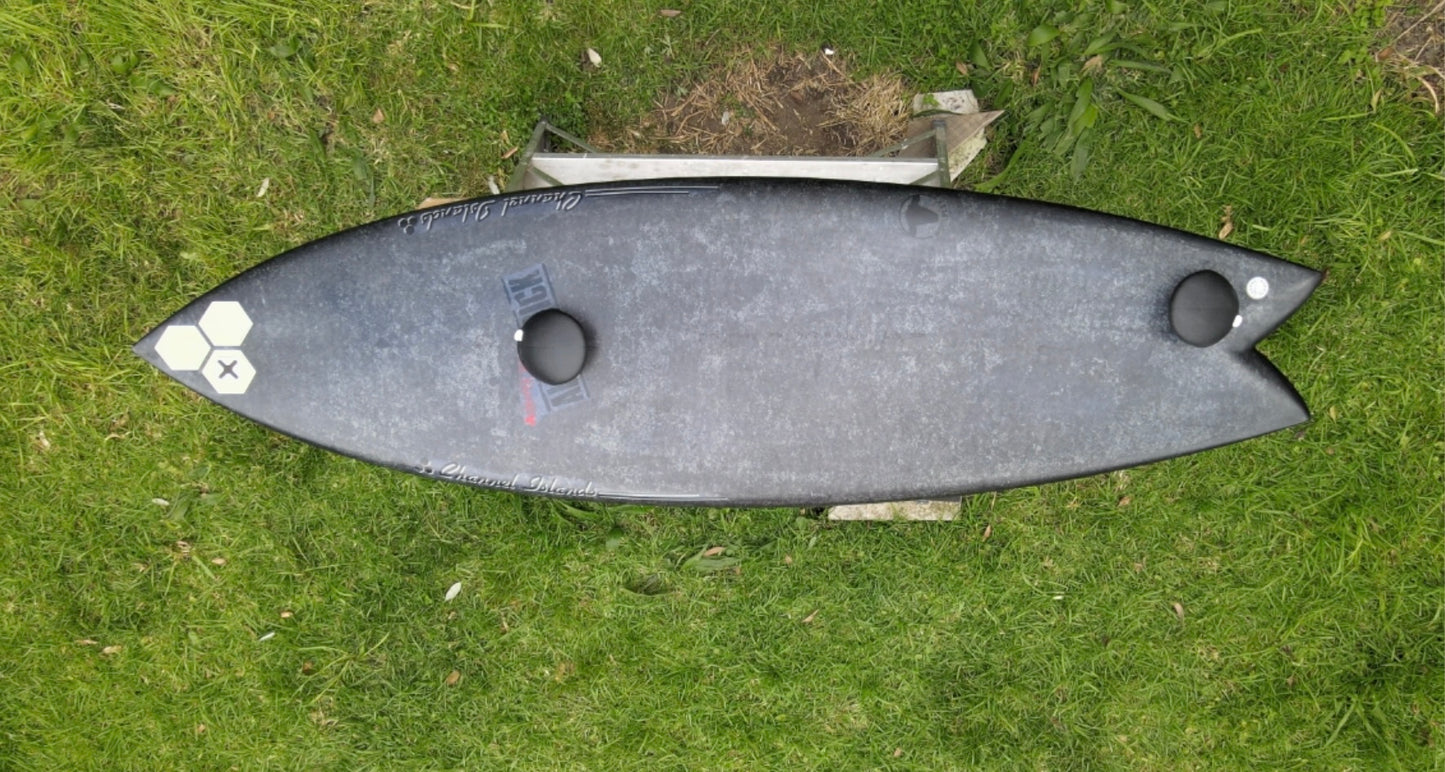
4. Find your stance on your board. If you are not sure, check the pressure dents on an old board and measure the distance in between. Mark where you want your stance to be. Most surfers move their foot up and widen their stance slightly to do airs. We recommend a placement of 4 inches (or 10cm) above the front foot heel dent in the centre of the board. Use multiple plugs for multiple stance or hand hold options. Get creative depending on what you are riding. Boxmount Bindings were developed with adaptive surfers in mind and are comfortable handles. Look where your fin boxes are don't cut into them!
5. Mark your Boxmount Plug placements with the Boxmount Jig Plate.
We are installing all 3 Boxmount Plugs from the Boxmount DIY Kit in this video. One Plug in the nose to put the front Boxmount Binding when paddling out, or for a GoPro/Smartphone mount (coming soon). The other two Plugs for front and back foot Boxmount Binding half straps.
Also use the back Plug for the Boxmount Tail Mount (coming soon).
6. Fit the Boxmount Router Bit into your Router. Measure the cutter 19mm (or 3/4in) Always use the proper safety equipment when using power tools.
7. Use the Boxmount Jig Plate to make your cut. For added safety use masking tape too secure it down if you like. The Boxmount Router Bit will make a perfect cut into your board if done properly. Clean out any debris.
8. Test the cut by holding your Boxmount Plug by its spikes and inserting it into the space. It should fit tight. If not, gently sand the edges of the cut until it fits.
9. Tape around the cut and mix your Epoxy. Follow the directions carefully on the epoxy you are using. Mix Microbubbles into the epoxy to thicken the batch. Most of these Items are available as a ding repair kit at your local surf shop.
10. Fill your cut 1/3 of the way full with the Epoxy Mixture. Gently press the Boxmount Plug into the cut. Take care no resin gets into the Plug! We do include stickers to put over the plug, but if you press it in carefully, and wipe away excess epoxy you shouldn't need them. (Stickers are used in the advanced install).
11. Peel up the Masking Tape once the epoxy starts to gel. When it has set and has hardened, sand off the lip of the plug and excess Epoxy with 80 Grit sandpaper, smoothen with 240 Grit, then polish with 400 Grit.
12. Tune the Boxmount Binding using a fin key. Bindings snap into place then lock in tight with a click if tuned properly. They have 4mm of play to compensate and form to dents.
13. Go Shred!
*DISCLAIMER
The Boxmount DIY Kit is for ages 18+.
Boxmount LTD is not responsible for botched install jobs, burnt batches, broken boards, broken skulls, or any other injuries. By purchasing the Boxmount DIY Kit you agree that this product comes with adherent risks and you take full responsibilities for those risks.
Shipping & Returns
Shipping & Returns
Shipping now from Boxmount HQ in New Zealand. Returns will only be accepted 30 days after purchace if the items are unused and the box is unopened. Customer pays Return Shipping.
Dimensions
Dimensions
